
Astra K (B16)
Manufacture Period

Vauxhall launched the Astra K at the Frankfurt Motor Show in September 2015 for the 2016 model year. Last model rolled out of production line in Poland in November 2021. There are many owners of B16 model complaining about the flickering issue on their car stereo units. There are thousands of topics regarding half screen or full screen flashing / flickering issues on this model.
Flickering Screen
Common Issue

I have seen people being quoted upwards of £800 for the whole infotainment unit replacement, where the culprit is the LCD panel. By replacing just the screen, you can save a lot of money. You can find them on AliExpress or Ebay for around £100 and it takes approximately an hour to change it.
The root cause had not been established, but various sources on the internet speculate that inferior components were used on the PCB of the LCD unit. Never Astra models use different supplier of the screens and they don’t develop the issue of flickering etc.
The video above demonstrates the issue. It is quite common to have half the screen flashing / flickering, but also the whole screen white or just no picture at all. If you are one of the owners that has the same problems with your infotainment system on your Astra and thinking about doing it yourself, then you might find this blog post helpful.
Replacement Display Options
Part Number
You will need a replacement screen. It is recommended to disassemble the dashboard and have a look at the serial number of the LCD. I guess it should take about half an hour for an inexperienced person to do that. The benefits of it would be to confirm the replacement unit and gain some experience on assembly for when the new part arrives. AliExpress is the best choice when hunting for a replacement parts, because prices on Ebay are inflated.
I have established that most Astra K models in the UK will need this model below:
lq080y5dz10LCD Without The Capacitor Touch Screen

Although the price recently skyrocketed from £40 to £110-170, it is still the best way to fix your infotainment. You can find them on various sites on the internet:
https://www.aliexpress.com/item/32971418516.html
https://www.ebay.co.uk/itm/274978060961?hash=item4005f83aa1:g:k8wAAOSwO0xfBZip
LCD With Capacitor Touch Screen

It is cheaper to buy just the LCD screen and use your old capacitor touch screen, but some might prefer to buy the whole package. It is very easy to reuse your old touch screen, so don’t worry about which one you want to order.
https://www.aliexpress.com/item/32971418516.html
https://www.aliexpress.com/item/33042906088.html
Touch Screen Only
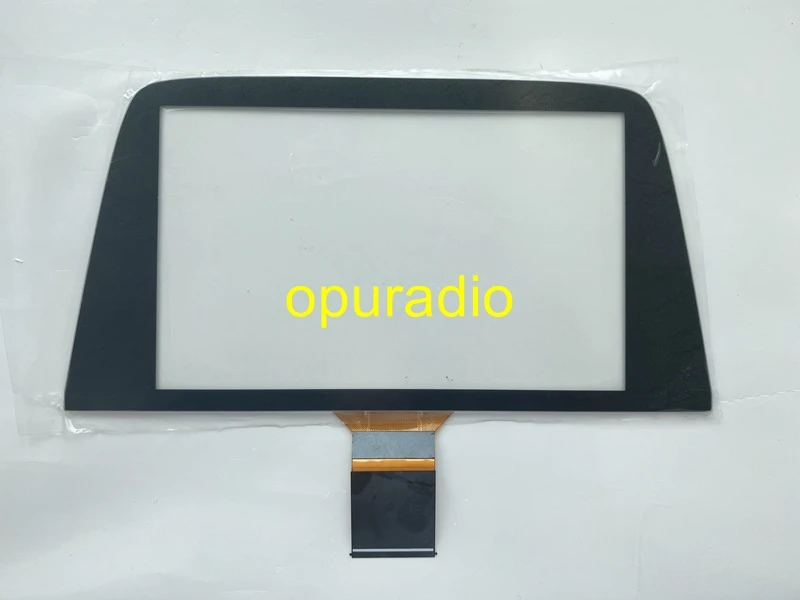
You can also get the touch screen only, but it is highly recommended to just use your old one and replace just the LCD. There is really no need to buy just the touch screen, unless your one is damaged.
https://www.aliexpress.com/item/1005003741312287.html
Double Sided Tape For Screens

If you go the cheapest route of the LCD replacement, you will need a double sided tape to reattach the capacitive touch screen to the LCD. It is cheap and widely available. I have bought it from Amazon, from the link below. I have used 1mm width.
https://www.ebay.co.uk/itm/363426521624
Infotainment Disassembly
Tools
Trim Removal Kit
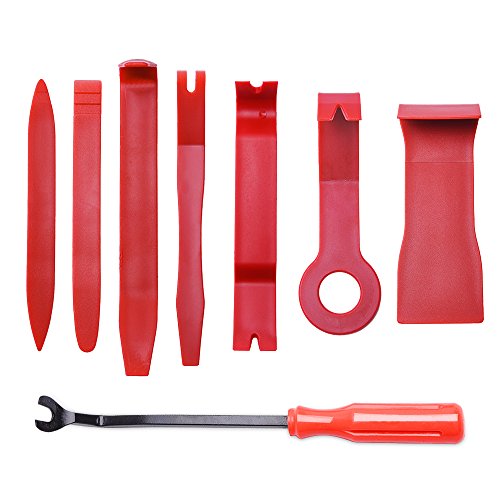
This process should take half an hour for someone inexperienced. It is recommended to use dedicated trim removal kit – they are cheap and surely will come handy around the home:
Option 1 – £3 https://amzn.to/3ncuxMo
Option 2 – £9 https://amzn.to/3JZBgmQ
Option 3 – £10 https://amzn.to/3taOnvq
IFixIt Kit
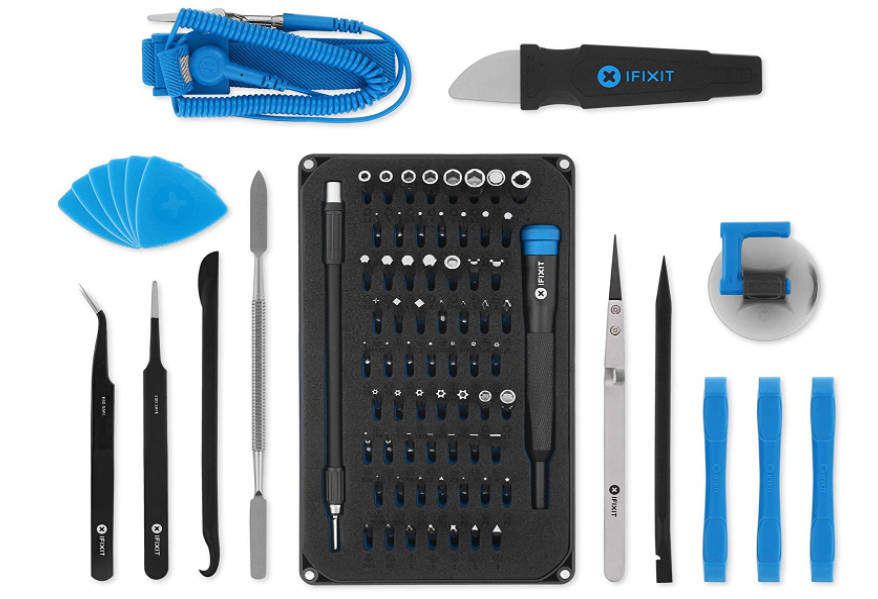
I recommend this kit for any electronics jobs you might come across and once again, it will come handy during this task as it has a pry tools and a knife, which we will use to separate LCD from the touch screen.
Dashboard Trim Removal
Using any of the tools from the trim removal kit, remove trim from both sides of the radio. The trim sits tightly, but going underneath of it with a tool and moving sideways, you can locate where the clips are. These locations are the best to use more force.
Start with the small panel on the right hand side of the audio unit to get some experience. This trim has 3 clips.
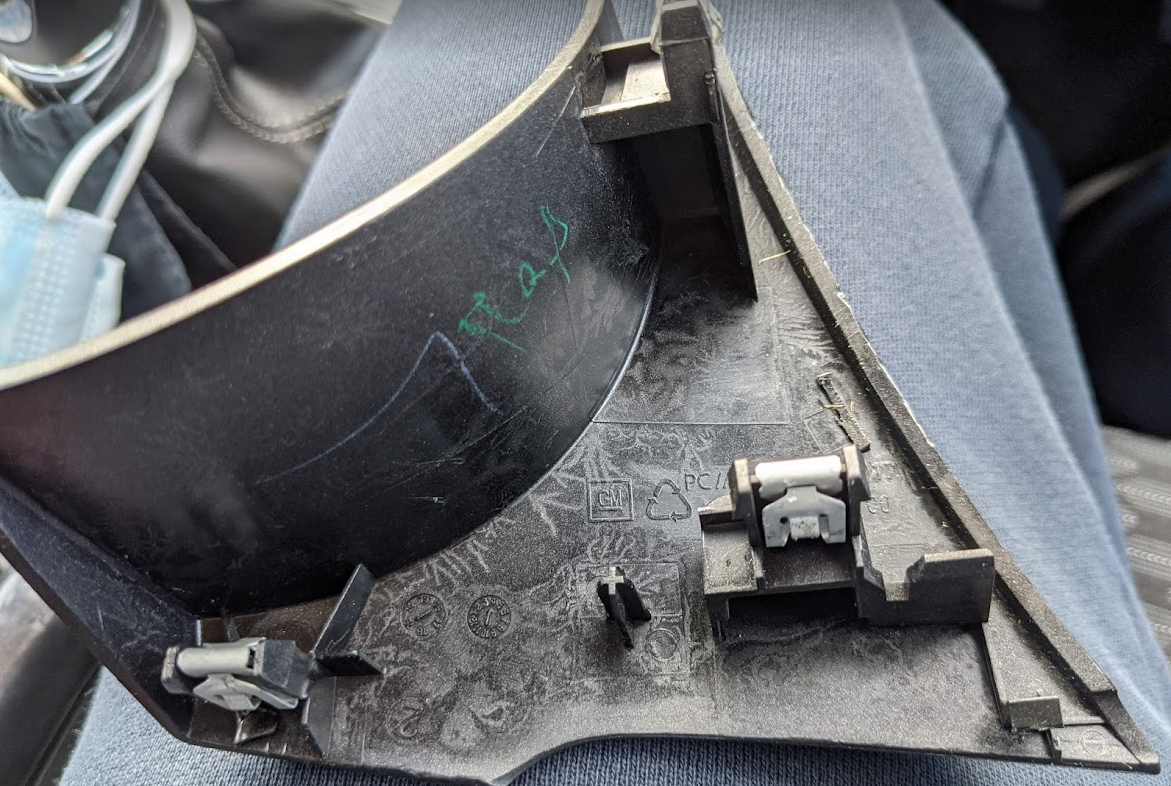
The left hand side trim has 10 clips. Starting with bottom right, as it is the easiest, work it to the left then come back to top right and move to the left finishing around the vent.
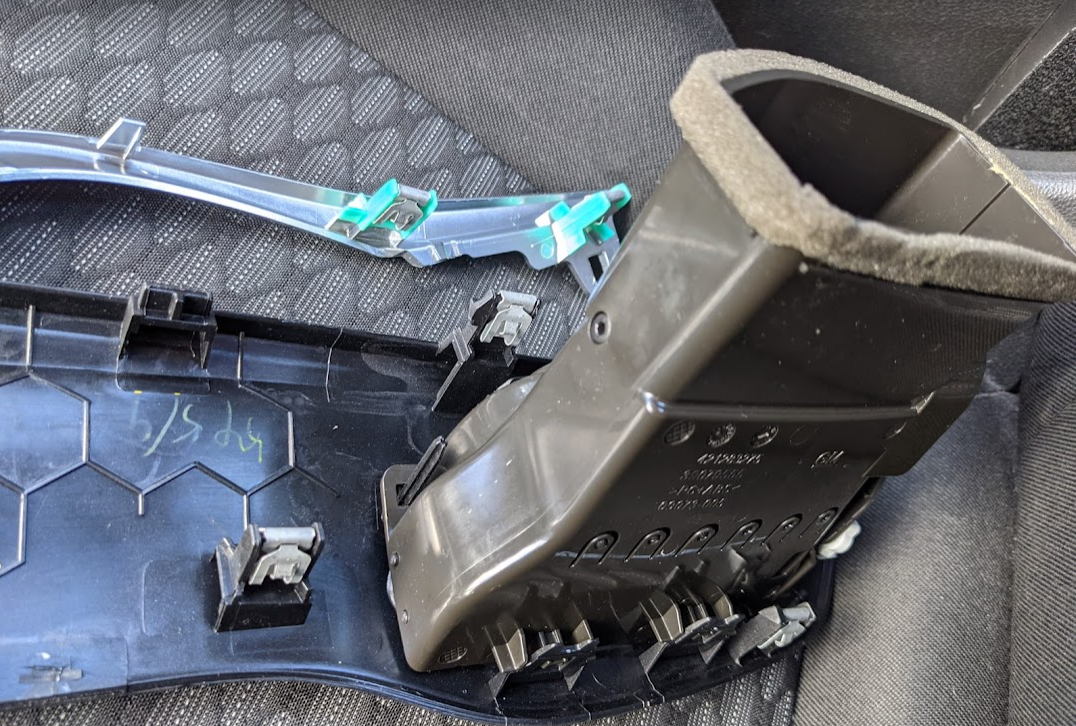
The whole trim should come off with the vent still in place.
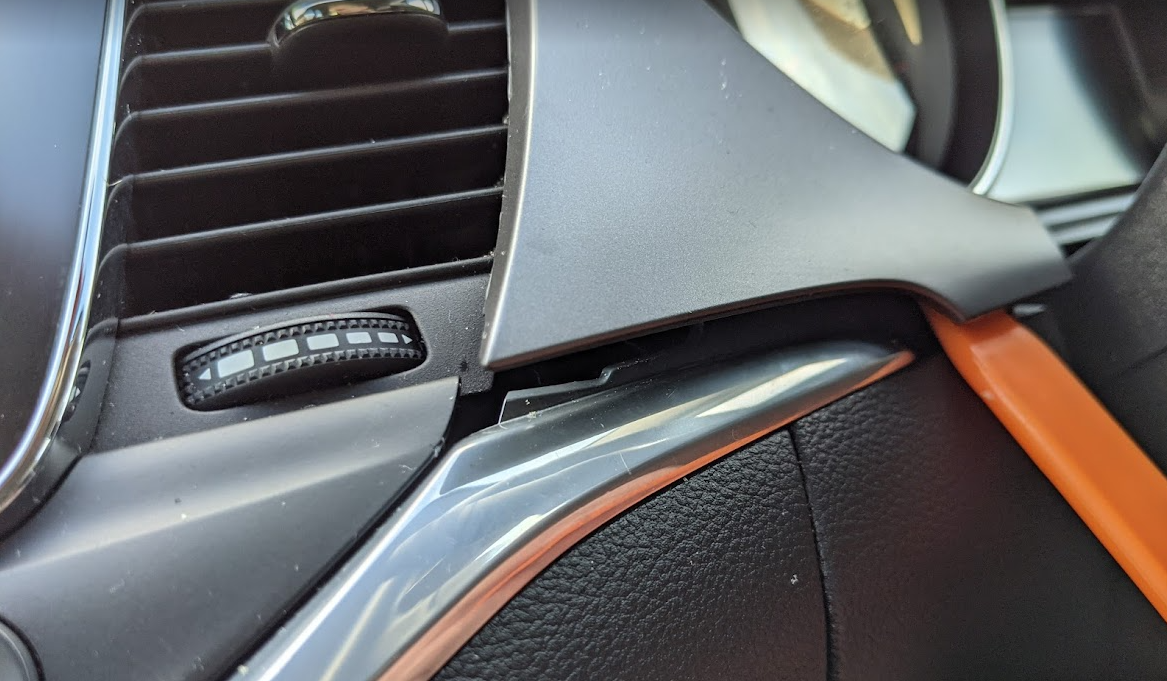
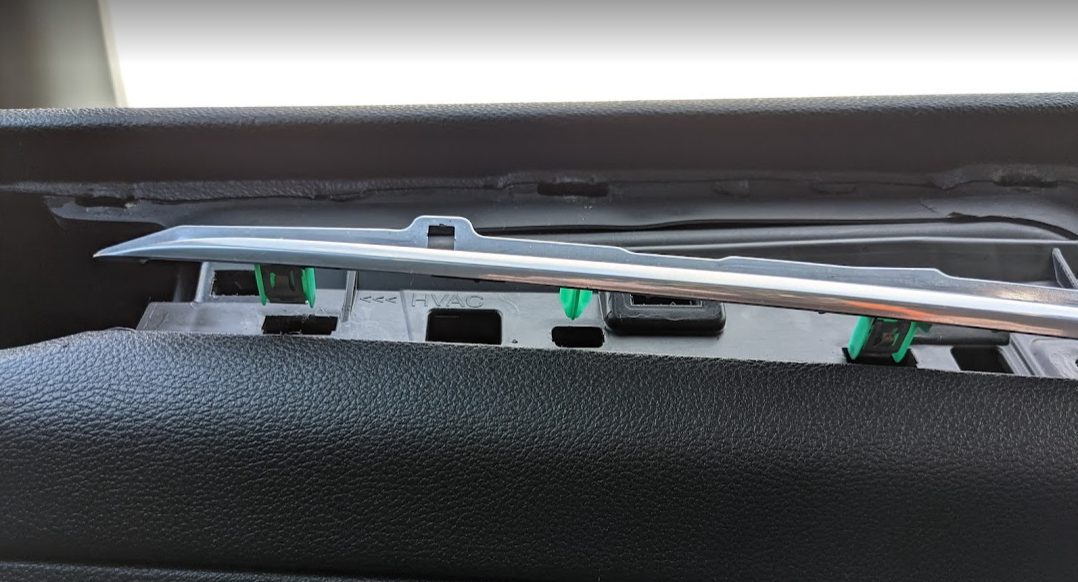
Last thing is the silver strip, easiest one. This one requires gentle operation around the clips as it is not as firm as the rest of the trim parts. Start from the left, close to the clip shown on the photo below and work your way to the right. It gets easier once one of them pops off.
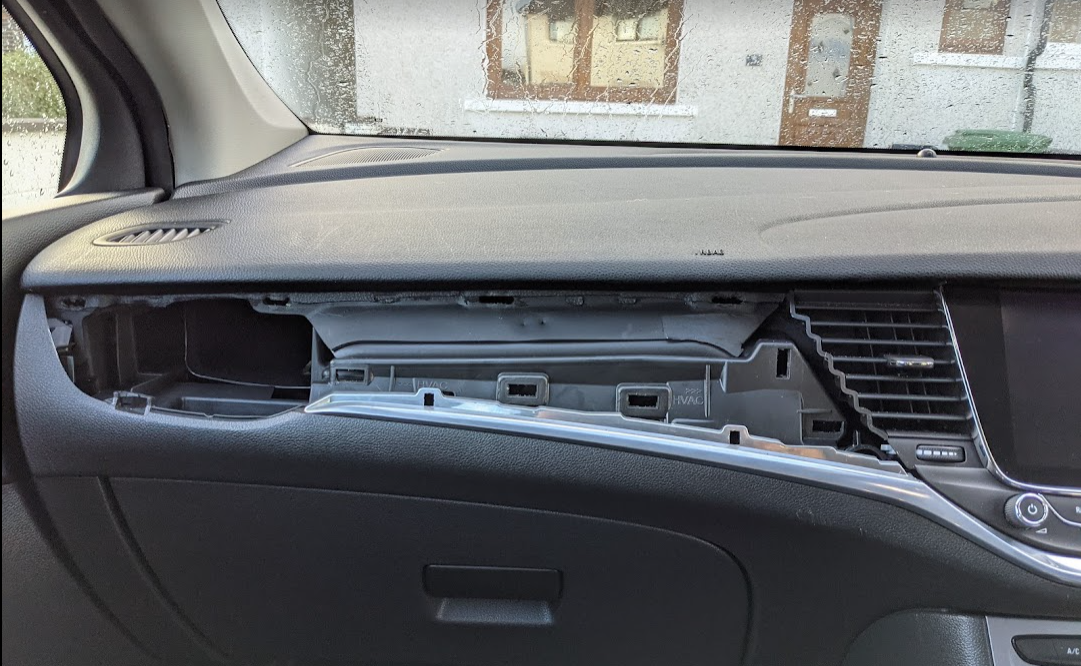
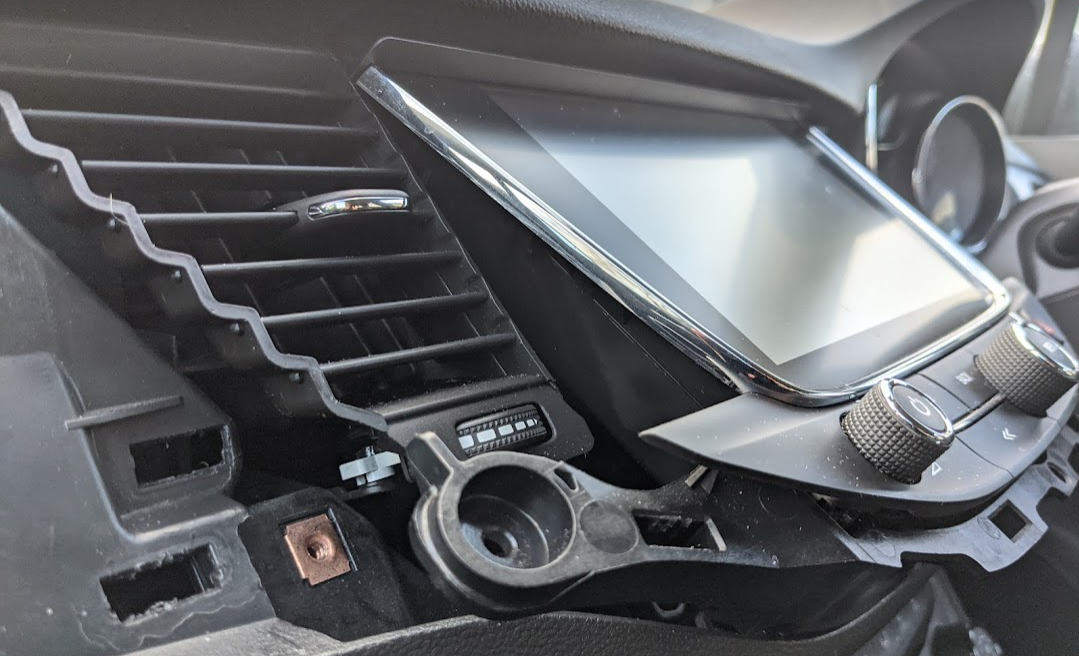
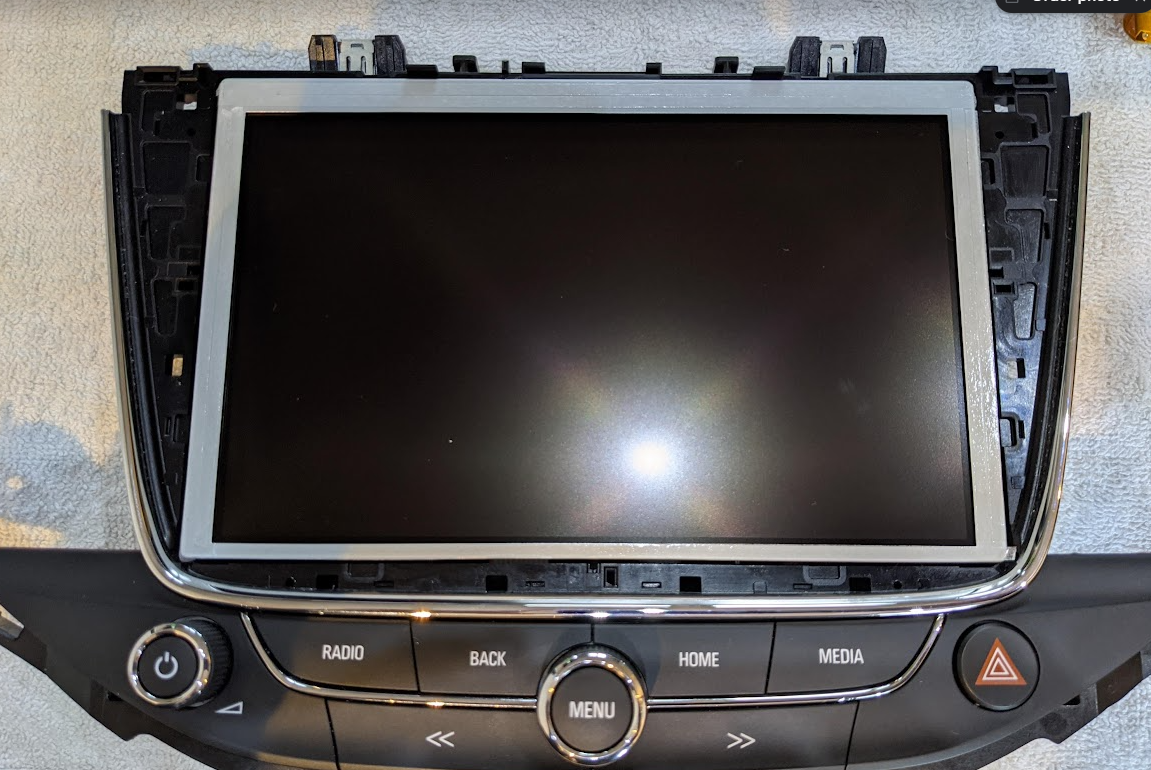
At this point we have everything removed and it is time to remove the audio unit. As you can see, this should take 20 minutes in total, depends how brave you feel with the prying tools. It is better to take extra time and once you get the feel of it you can probably cut the time in half.
Infotainment Removal
The Intellilink unit is secured in place with two M8 screws. Use 13mm socket to remove both of them.

To release the whole unit from the housing you will need to pry it with any of the trim removal tools.

It should come off from the bottom first, then slide out.
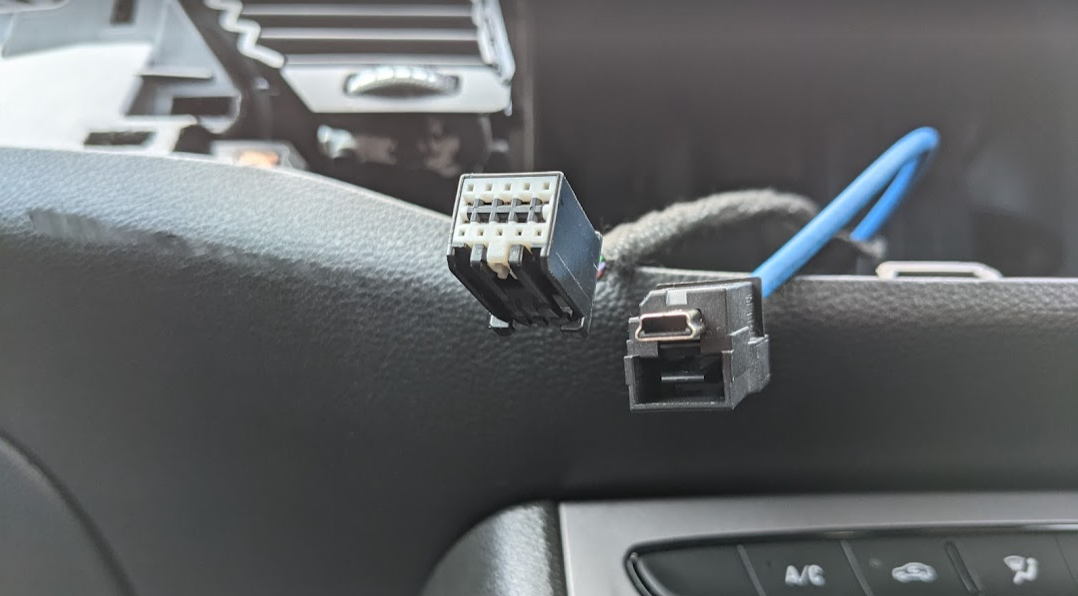
Hold the unit and disconnect two cables off the back of it. One of them is mini USB cable, the other is 10 pin connector. Very easy to disconnect.

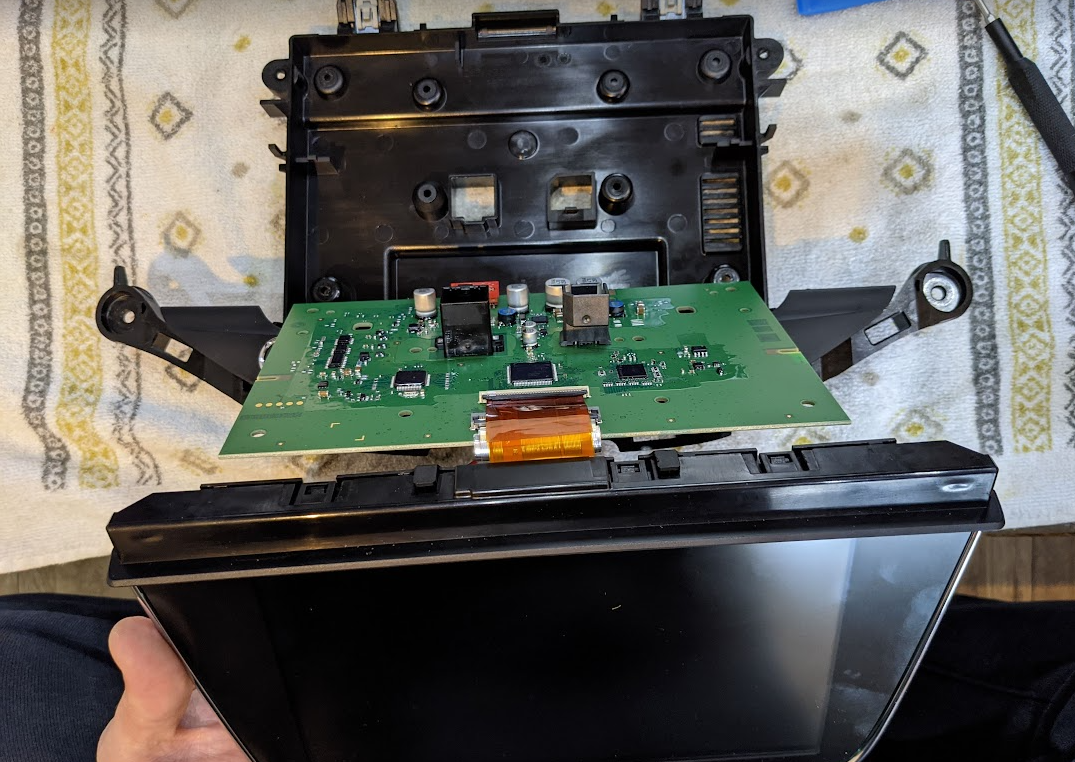
At this stage, we have the trim and radio removed, ready for a screen replacement. Below is the photo of the connectors, might come handy for some of you trying to modify the audio equipment on Astra.
Infotainment Disassembly
As you can see on my unit, there should be 15 allen head screws in place, but some of them are already missing. This indicated that someone else was working on this unit before.
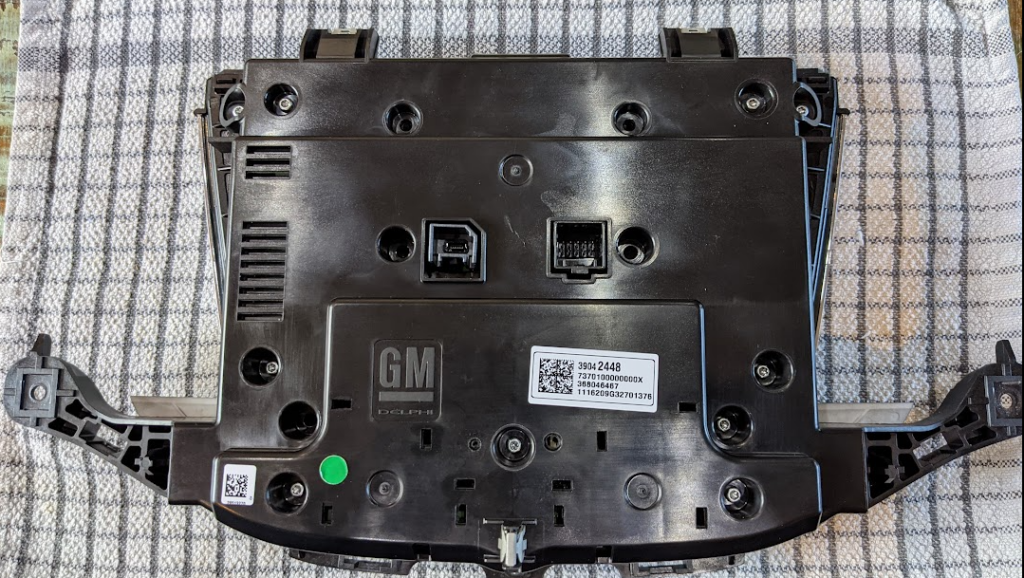
Remove all of them and turn the unit on its back. The front panel housing the LCD screen should lift off easily.

Disconnect the flat flex cable from the connector by opening up the retaining clip first. Be very gentle with the cable, as although it is cheap to source, it can be easily damaged by bending.
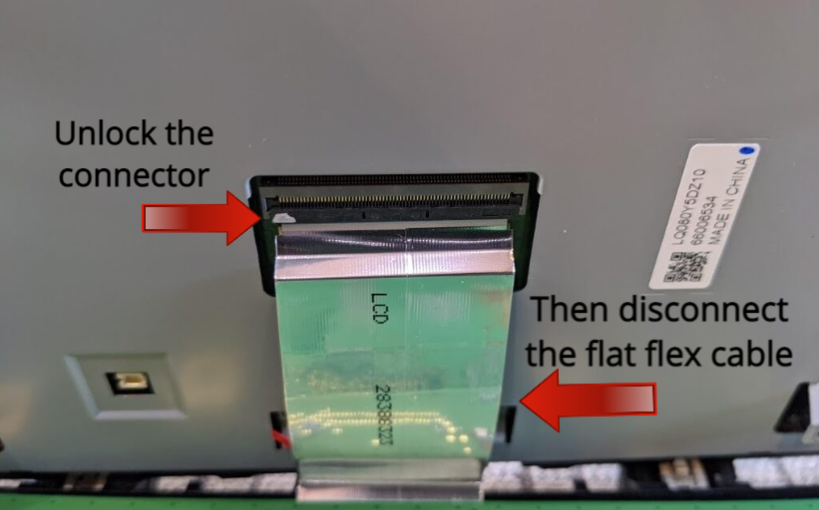
There is one more flat flex connector to disconnect. Lift the LCD and the board up as on the photo below to reveal it.
The LCD housing should be separated now. The assembly is hold together with simple, plastic clips. Pry them open to get access to the LCD.

You should have two parts now, the capacitor touch screen with the LCD and the plastic frame.
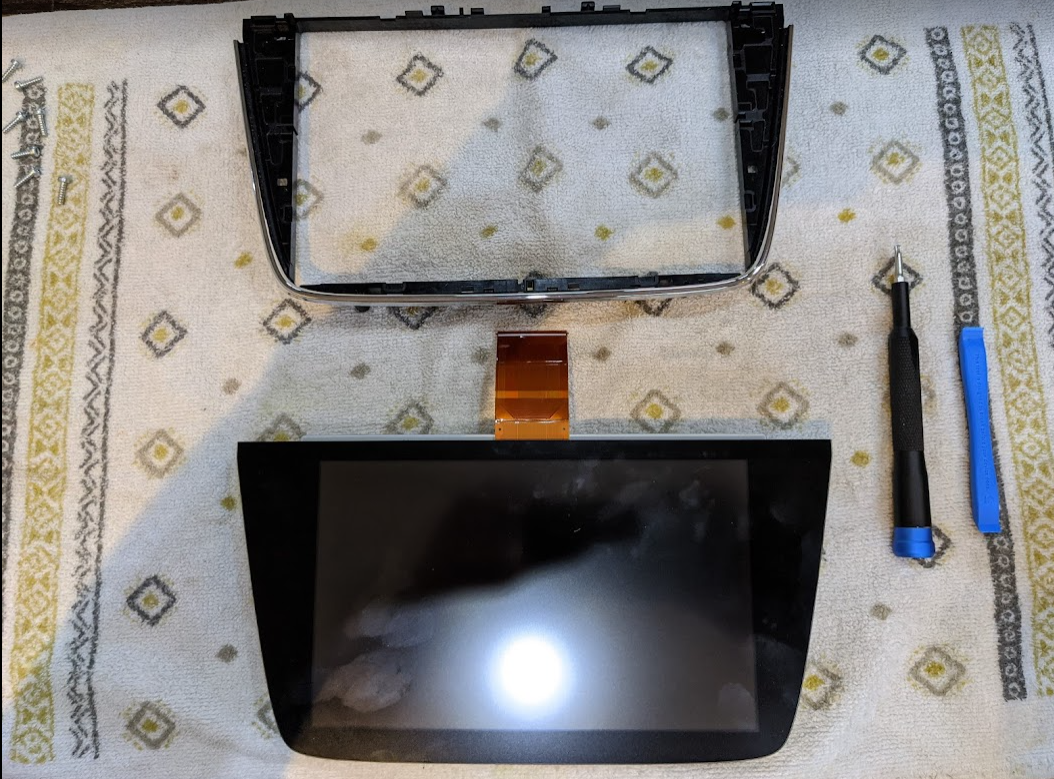
At this point you just replace the whole capacitor touch screen with the LCD or continue with just the LCD replacement. The second option is cheaper and very easy, but it is up to you.
If you decided to buy the LCD with the capacitive touch screen, you can skip to the Infotainment And Dashboard Assembly below. If not, let’s get to the best part.
Separating Touch Screen And The LCD
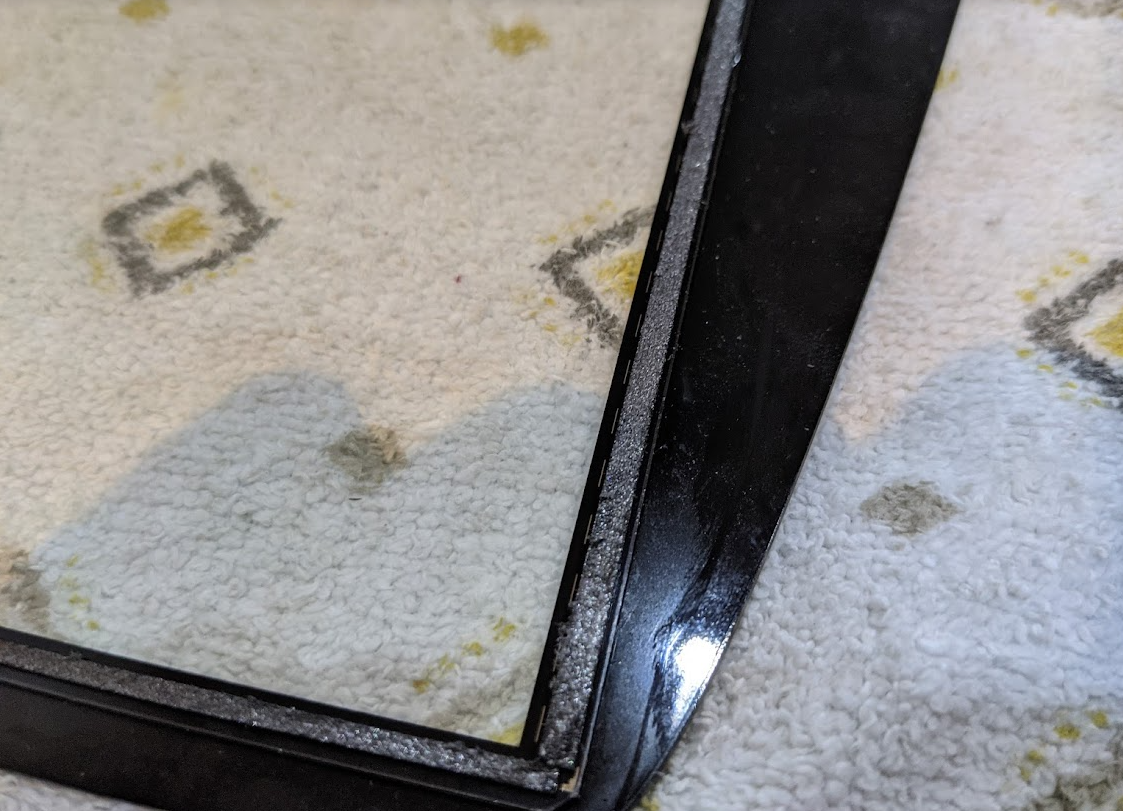
With a sharp tool, preferably the knife from the IFixIt kit, run along the edge of the LCD to cut through the glue and separate the capacitive touch screen. It should be very easy If you hold the knife parallel to the cut.

Clean the glue residue from the touch screen. Use any tools available to scrape it off as it will be used again on the new LCD panel, if you opted in for the cheaper version.
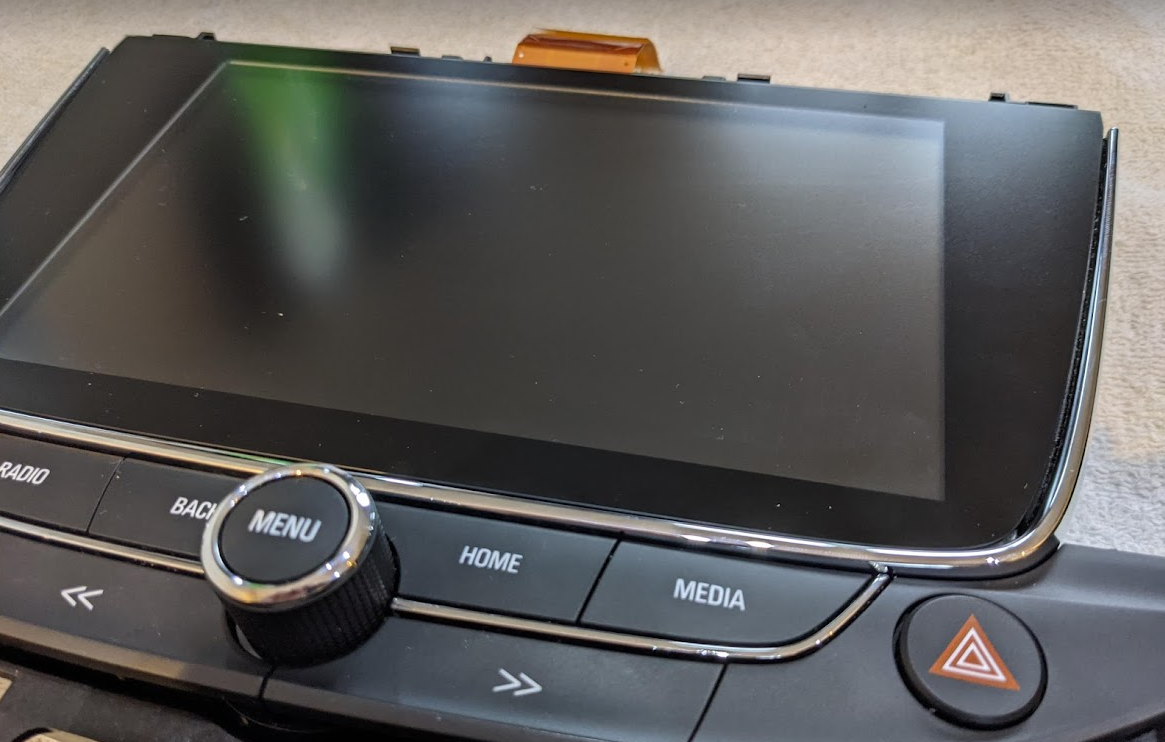
Preparing And Fitting New LCD Screen
Once the touch screen is ready, apply the double sided tape. I have used two rows of 3mm width to cover the whole frame of the new LCD. Apply it as on the photo below, cut to size, so it doesn’t overhang and remove the protection.
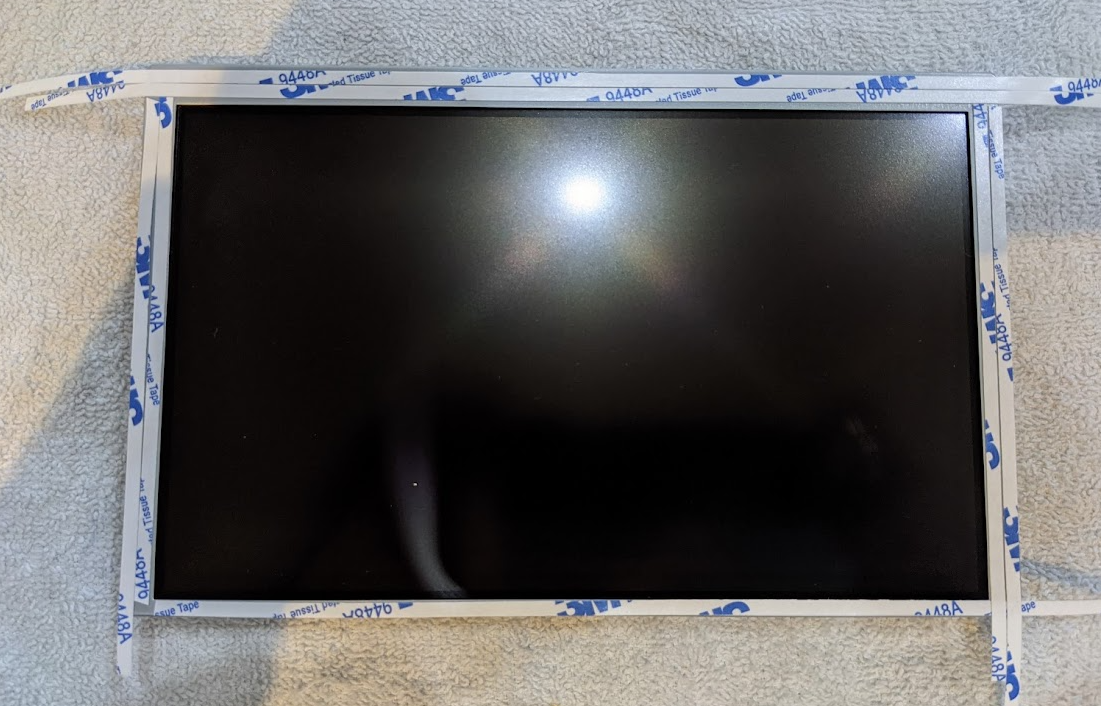
It should look like one the photo below. As simple as that.

Position your new LCD screen inside the housing of the infotainment system. This will allow for precise placement of the touch screen.
Apply gentle force once it is in place and leave for few minutes. It should instantly have a good contact and stay in place, but be gentle with it until it is fixed within the full housing.
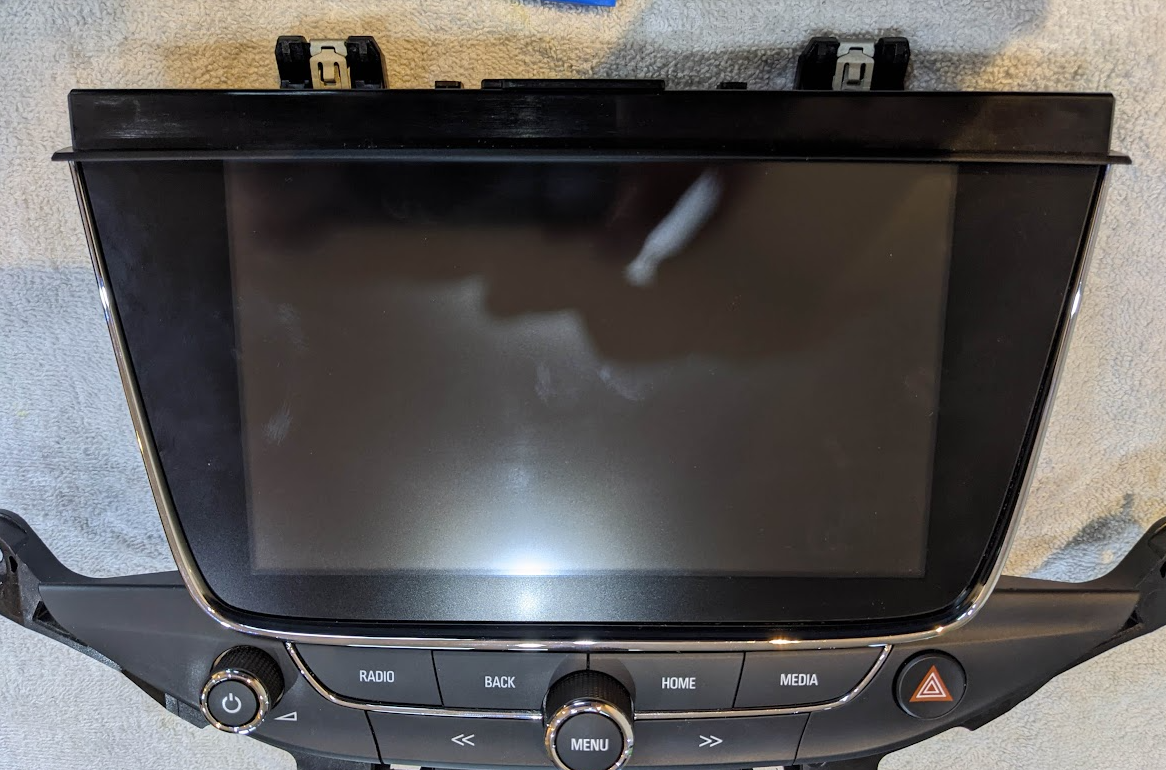
Rebuild The Infotainment Unit
Reverse steps from above. Remember to reconnect all the connections, just look at the photos above. Rebuild the whole unit and. Once finished, mount back in the car so it is ready for testing.
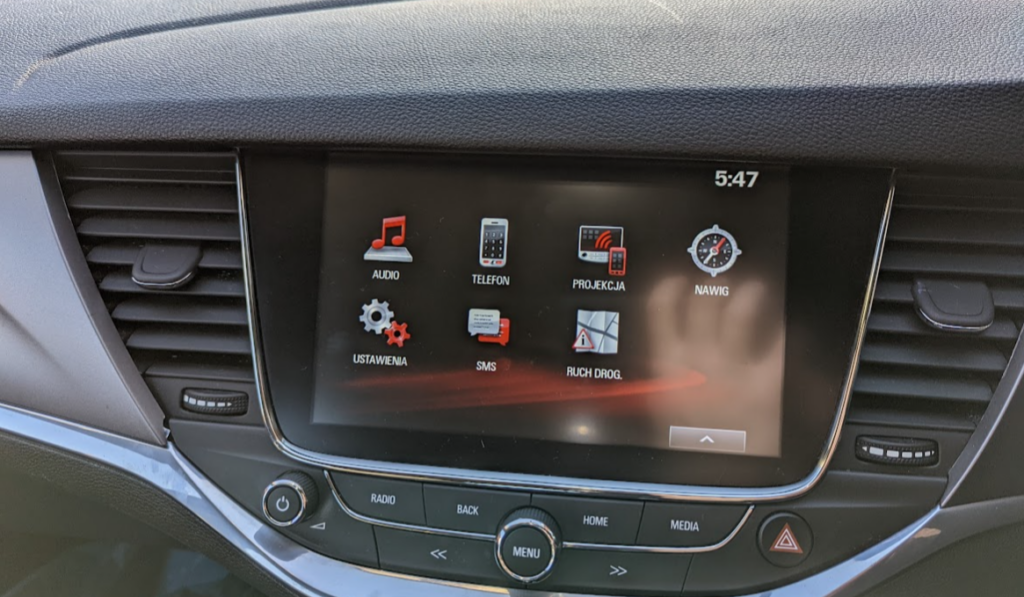
Testing
Turn the key and test your new LCD panel. If the problem is still there, you have bought damaged panel in the first place. I had this issue once and I sent it back for replacement – only then it worked. The seller from eBay confirmed he doesn’t test the panels.
The flickering issue we had on our Astra was immediately fixed. Since then, I have helped quite a few people with the same problem and all of them were happy to have their screen come back to life. It only took half an hour to do next one, so don’t overpay!
Here are two shots from our Astra, with the flickering issue gone:
I will try to support anyone who will attempt to fix their car. Reach out to me in the comments if you are interested. Good luck!