Web GUI Shell
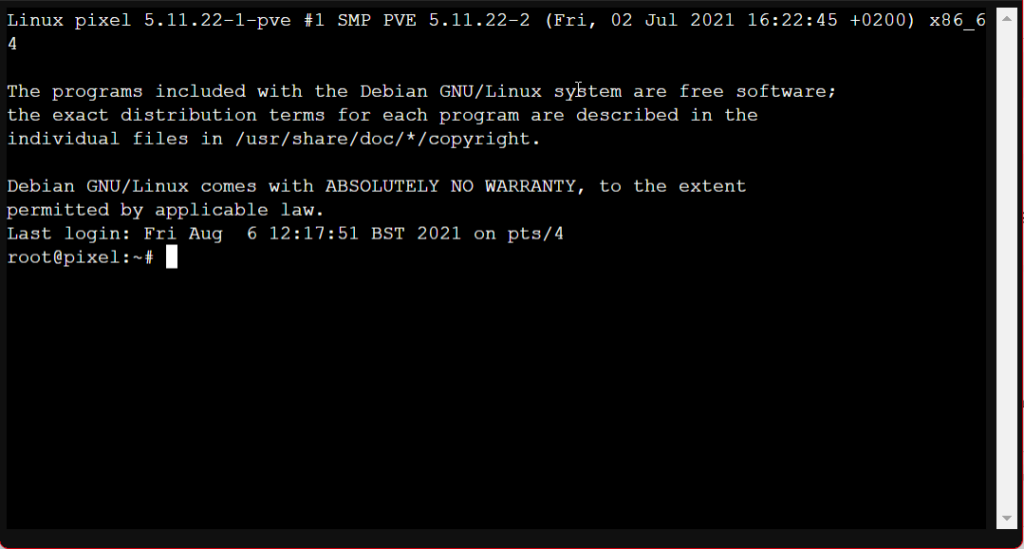
Access your node’s shell from web interface as root.
List Available Devices
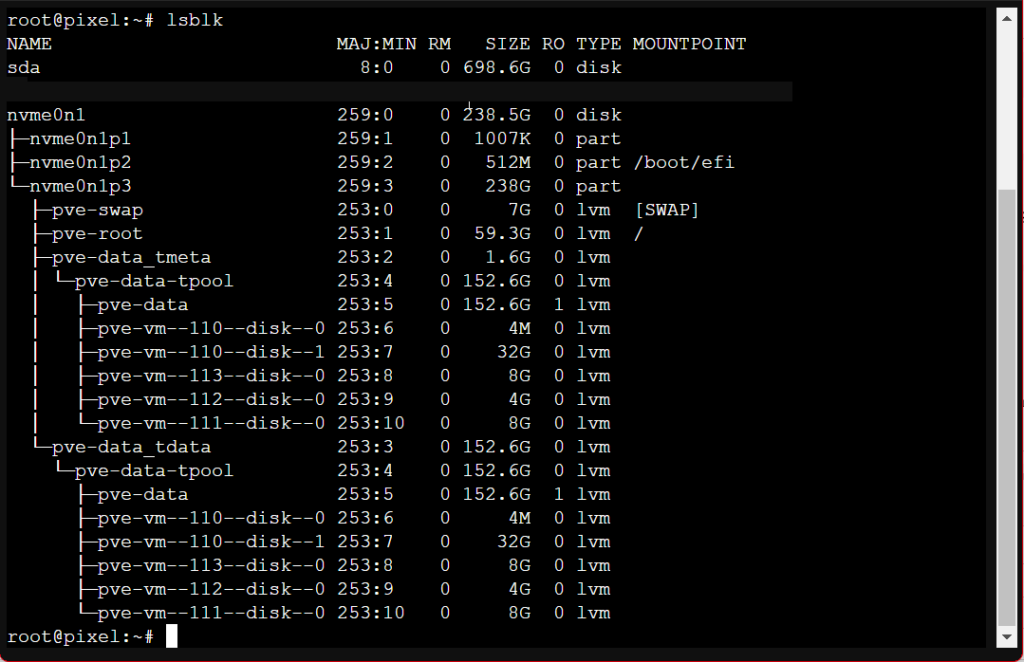
This command lists all available discs. In this case, SDA is the additional SATA drive.
Lsblk is used to display details about block devices and these block devices(Except ram disk) are basically those files that represent devices connected to the pc.
LSBLK command
lsblk
Format And Partition
apt-get update
apt policy parted
apt install parted
parted /dev/sda mklabel gpt
Create one primary partition with ext4 filesystem
Change YOURLABELGOESHERE with the label you want for your drive
parted -a opt /dev/sda mkpart primary ext4 0% 100%
mkfs.ext4 -L YOURLABELGOESHERE /dev/sda1
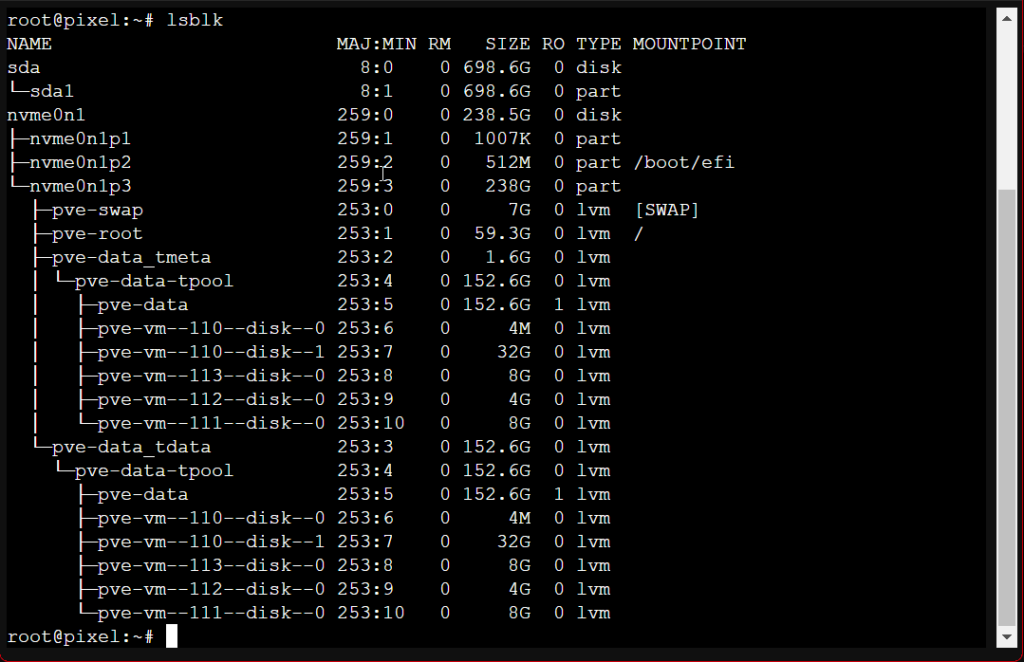
New partition will show up after issuing lsblk command again
Create Mount Point
Create directory for the new drive in /mnt
Change YOURDIRECTORY to anything you need, eg externaldrive or backups
mkdir -p /mnt/YOURDIRECTORYAuto Mount After Reboot
Edit /etc/fstab to auto mount the new drive after restart
nano /etc/fstab
Add this entry, change YOURLABELGOESHERE and YOURDIRECTORY to whatever you used
LABEL=YOURLABELGOESHERE /mnt/YOURDIRECTORY ext4 defaults 0 2Reload Mount Points
Reload /etc/fstab configuration
mount -aConfirm Available Devices
Check that everything is mounted and visible for the system
In this case, new drive sda has primary partition sda1, mounted at /mnt/backups with a label of backups.
lsblk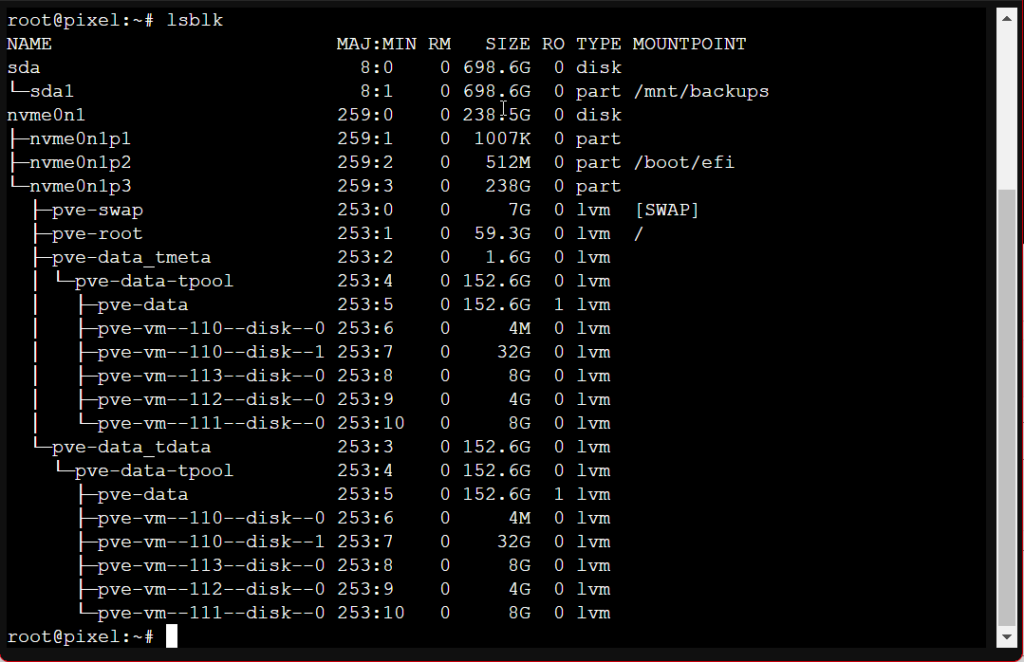
Add The Drive As Storage In Proxmox 7
Navigate to your web interface and select the node, then Storage menu.
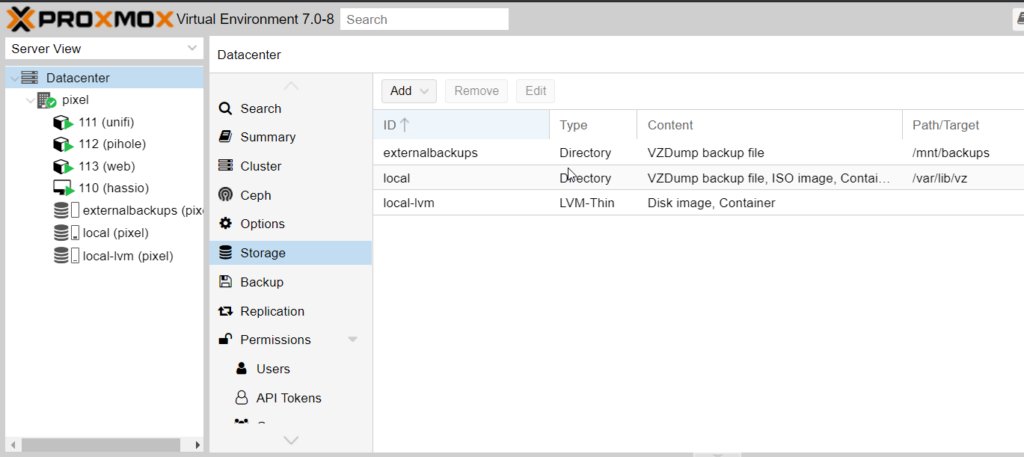
Click Add
Select Directory
Fill in all the fields, changing YOURID to anything you want and /mnt/YOURDIRECTORY to whatever you used in previous steps
If you want to use this drive as backup storage for your node, ensure VZDump is selected as Content

Click Add
Summary
Your drive will auto mount after reboot and will serve as storage space for your Proxmox installation.
You can select it as storage when performing backups of CTs and VMs.

